The Complete Drag Contouring Guide
The Complete Drag Contouring Guide
Drag contouring is controlled illusion. It uses shadow to reshape the face — to create the appearance of a completely different bone structure, a different nose, a different jaw, a different set of cheekbones — using nothing but makeup and light.
Everyday contouring adds subtle definition. Drag contouring goes further. It's architectural. It's deliberate. And when it's done well, it's invisible — the audience sees the face you've created, not the technique behind it.
This guide covers everything: products, tools, cream vs powder, feminizing and masculinizing contour, and every major placement zone — cheeks, nose, jaw, and forehead.
What You Need
Contour Products
- Cream contour — Applied before powder. Blends into the skin for a more natural, skin-like shadow. Better for photography and close-up work. Needs to be set with powder.
- Powder contour — Applied after setting the base. Easier to blend and build gradually. Better for stage work where you need visible definition from a distance.
- Shade — Always cool-toned and matte. Warm-toned contour reads as bronzer, not shadow. Grey-brown or taupe shades create the most convincing shadow illusion.
Tools
- Fluffy contour brush — For powder contour. Allows gradual building and soft blending.
- Small dense brush or sponge — For cream contour. Presses product into the skin for more precise placement.
- Clean blending brush — For softening edges after placement.
Cream vs Powder Contour: Which to Use
Use cream contour when:
- You want a more natural, skin-like finish
- You're being photographed up close
- You're building a full cream base and want everything to blend seamlessly
Use powder contour when:
- You need definition visible from a distance (stage performance)
- You want easier, more forgiving blending
- You're working over a fully set powder base
Use both when:
- You want maximum depth and longevity — cream first for skin-like shadow, powder on top to intensify and set
The Golden Rule of Drag Contour
Contour goes where shadows naturally fall. Study your face in natural light from the side. The areas that fall into shadow — under the cheekbones, along the sides of the nose, under the jaw — are where contour belongs.
If you place contour where light naturally hits, it will look muddy and wrong. If you place it where shadow naturally falls and blend the edges until they disappear, it will look like bone structure.
Feminizing Contour
Feminizing contour creates the illusion of softer, more delicate bone structure — higher cheekbones, a narrower nose, a smaller jaw, a shorter forehead.
Key placements:
- Cheeks: hollow of the cheek, swept up toward the temple
- Nose: sides of the nose bridge, narrowing toward the tip
- Jaw: along the jawline and under the chin to slim and soften
- Forehead: hairline and sides to reduce width
- Temple: to create a more oval face shape
Pair with highlight on the center of the forehead, bridge of the nose, cupid's bow, and center of the chin to lift and elongate.
Read more: How to Use Makeup to Create a More Feminine Face →
Masculinizing Contour (Drag King)
Masculinizing contour creates the illusion of stronger, more angular bone structure — a more defined jaw, a broader forehead, a stronger brow ridge.
Key placements:
- Jaw: along and below the jawline to sharpen and square
- Temples: to widen the forehead
- Brow bone: a shadow just below the brow to create a heavier brow ridge
- Cheeks: lower and flatter than feminizing placement, to reduce the appearance of high cheekbones
- Facial hair: contour used to simulate stubble, a beard, or a moustache
Read more: How to Create a Masculine Face with Drag King Contour →
Cheek Contour
Cheek contour is the most visible element of drag contouring and the one most beginners get wrong.
Placement: Find the hollow of your cheek by sucking in slightly. Apply contour in this hollow, starting from just below the ear and sweeping toward — but not past — the center of the face. The contour should end roughly in line with the pupil when looking straight ahead.
Common mistakes:
- Placing contour too high (on the cheekbone rather than below it)
- Bringing contour too far toward the nose (creates a muddy, sunken look)
- Using a warm-toned shade (reads as bronzer, not shadow)
- Not blending the upper edge (creates a harsh line)
Read more: How to Contour Your Cheeks for Drag Makeup →
Nose Contour
Nose contouring creates the illusion of a narrower, shorter, or differently shaped nose.
To narrow the nose: Apply contour in two thin lines down the sides of the nose bridge, starting from the inner corner of the eyebrow and running parallel to the center of the nose. Keep the lines close to the nose and blend inward.
To shorten the nose: Apply a small amount of contour across the tip of the nose and blend upward.
To refine the tip: Apply contour to the sides of the tip and highlight the very center.
Always add a highlight down the center of the nose bridge to complete the illusion.
Read more: How to Contour Your Nose for Drag →
Jaw Contour
Jaw contouring slims, softens, or sharpens the jawline depending on your goal.
To slim and feminize: Apply contour just below the jawline, blending downward onto the neck. This pushes the jaw visually backward and creates a softer silhouette.
To sharpen and masculinize: Apply contour along the jawline itself, blending upward. This defines the edge of the jaw and creates a more angular appearance.
Always blend contour onto the neck so there's no visible line between your face and neck.
Read more: How to Contour Your Jaw for Drag →
Forehead Contour
Forehead contouring reduces the apparent size of the forehead and adjusts the overall face shape.
To reduce forehead size: Apply contour along the hairline, blending downward. Apply to the temples to narrow the forehead width.
To create an oval face shape: Contour the temples and sides of the forehead, and highlight the center to draw the eye inward and upward.
Read more: How to Contour Your Forehead for Drag →
How to Fix Muddy Contour
Muddy contour is the most common contouring problem. It happens when:
- The contour shade is too warm (use a cooler, greyer tone)
- The contour is placed in the wrong position (too high, too central)
- The contour is over-blended into the base (apply on top of a set base, not into a wet one)
- Too many products are layered without setting between them
Fix: Apply a thin layer of setting powder over the muddy area, then re-apply contour on top with a clean brush. The powder creates a barrier that prevents the contour from sinking into the base.
Read more: How to Fix Muddy Drag Contour →
Drag Contouring Quick Reference
- ✅ Always use cool-toned, matte contour shades
- ✅ Apply contour where shadows naturally fall — not where light hits
- ✅ Blend edges until they disappear — no harsh lines
- ✅ Set your base before applying powder contour
- ✅ Build gradually — you can always add more, you can't easily remove
- ✅ Check in natural light and under stage lighting — they read differently
Next in the Drag Makeup Academy
- How to Use Makeup to Create a More Feminine Face →
- How to Create a Masculine Face with Drag King Contour →
- How to Contour Your Nose for Drag →
- How to Contour Your Cheeks for Drag Makeup →
- How to Contour Your Jaw for Drag →
- How to Contour Your Forehead for Drag →
- How to Fix Muddy Drag Contour →
- Next Pillar: The Complete Drag Eye Makeup Guide →
- ← Back to Beard Coverage Guide
- ← Back to The Drag Makeup Academy
Explore...
View all-
“SLAY ALL DAY” Ultra-Realistic Silicone Breast Plate Bra – Drag Queen Essential (C • D • E Cup) Instant Iconic Cleavage • No Tape • No Glue • Just GAG-WORTHY Curves!
Regular price From CHF 165.00Regular priceUnit price per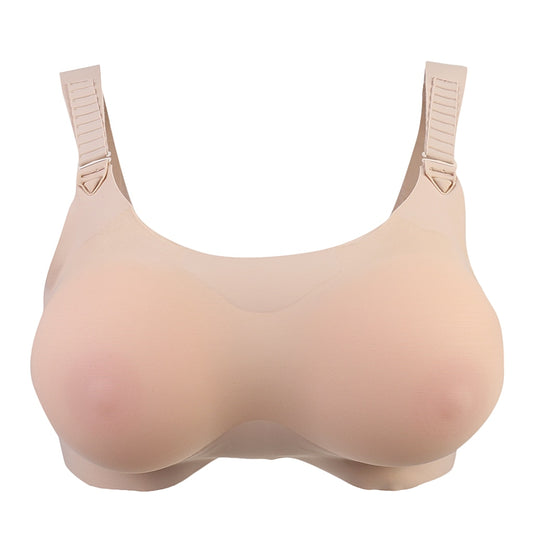
-
Dora Jar Fierce Lace-Up Platform Boots: Slay the Stage in Suede Glory!
Regular price CHF 153.00Regular priceUnit price per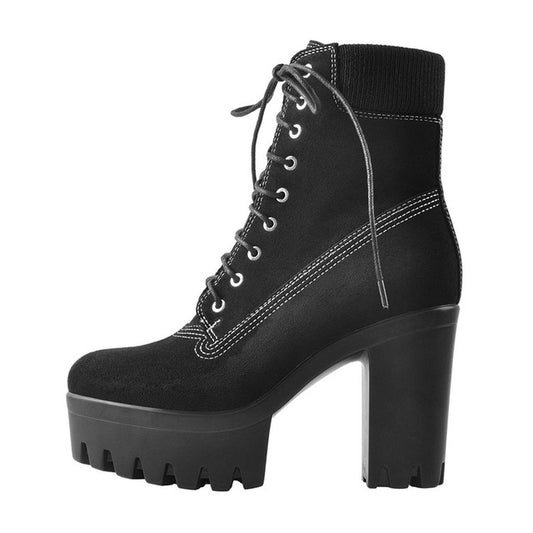
-
Cleo Patrix Afro Kinky Wig – 16" | Drag Queen Wig | 150% Density
Regular price CHF 123.00Regular priceUnit price perCHF 123.00Sale price CHF 123.00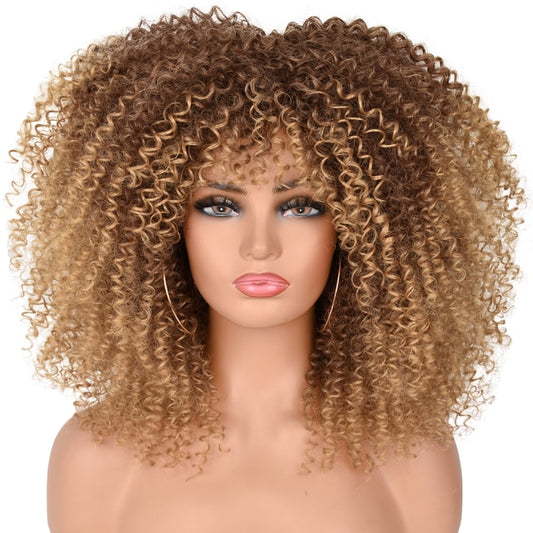
-
Gena Rocity Platform Pumps – Born to Serve, Built to Slay
Regular price CHF 140.00Regular priceUnit price perCHF 169.00Sale price CHF 140.00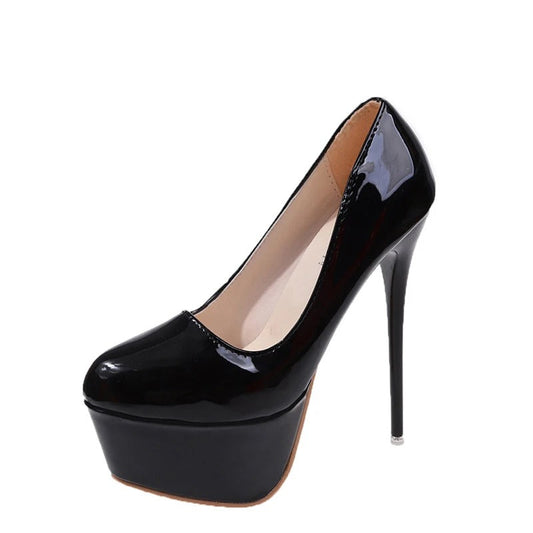 Sale
Sale -
Feminine & Flawless: Hiding Gaff Panties with Hip Pads
Regular price CHF 83.00Regular priceUnit price perCHF 107.00Sale price CHF 83.00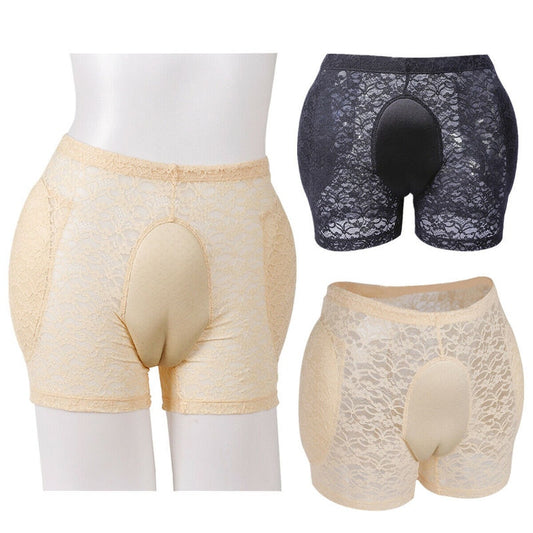 Sale
Sale -
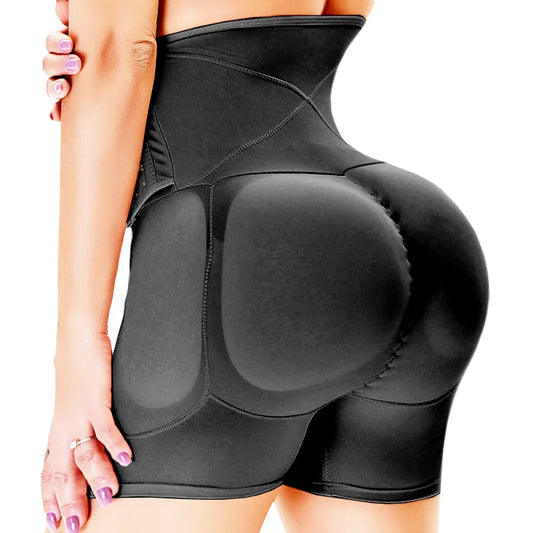
Drag Queen Essential: Padded Hip & Butt Enhancing Panties for Killer Curves & Hourglass Perfection!
Regular price CHF 131.00Regular priceUnit price perCHF 106.00Sale price CHF 131.00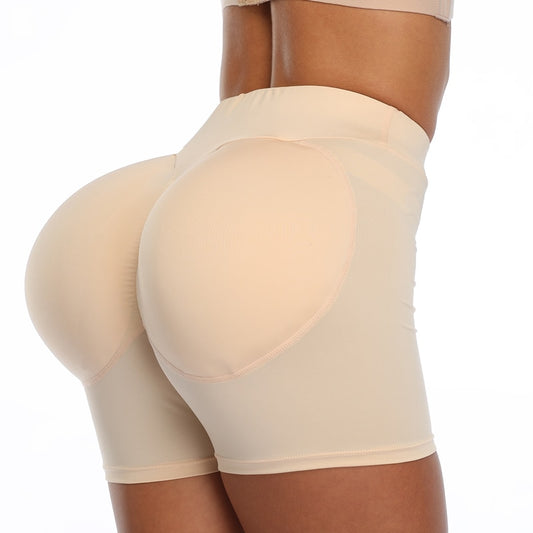
-
Thick Plus Size Tear Resistant Super Elastic Pantyhose
Regular price CHF 43.00Regular priceUnit price perCHF 76.00Sale price CHF 43.00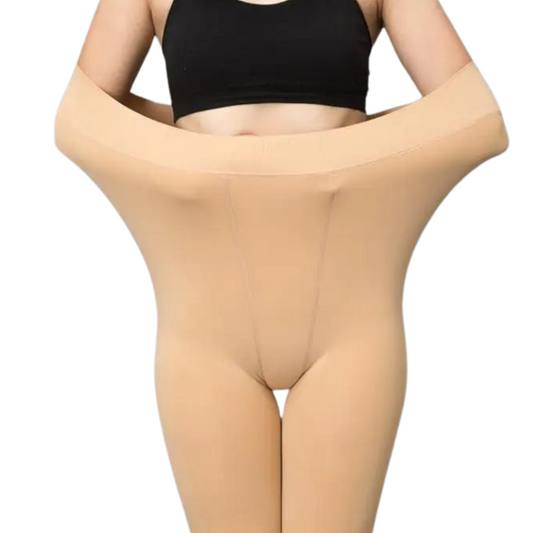 Sale
Sale -
Amie Thyst Silicone Breast Forms
Regular price From CHF 225.00Regular priceUnit price perCHF 313.00Sale price From CHF 225.00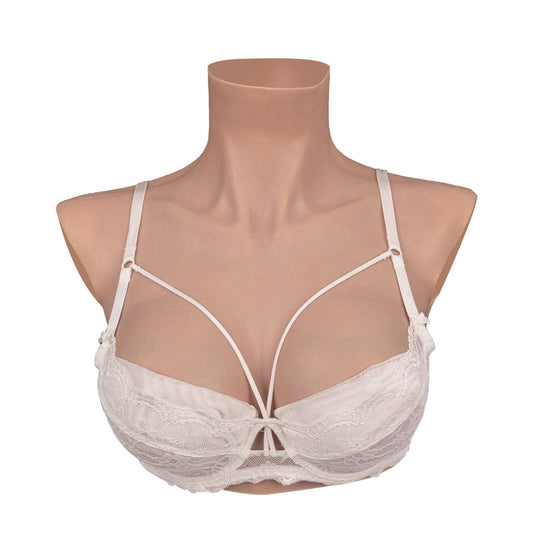 Sale
Sale -
Glossy Mary Jane Block Heels – Candy Colors for Sissies & Cuties
Regular price From CHF 127.00Regular priceUnit price perCHF 208.00Sale price From CHF 127.00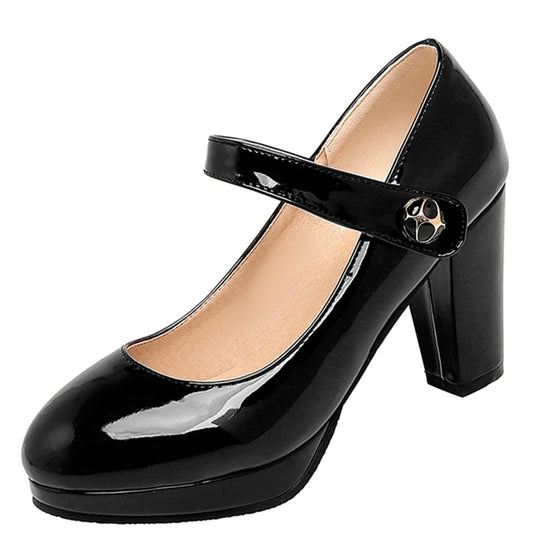 Sale
Sale -
Queen Leticia Underbust Satin Corset
Regular price CHF 59.00Regular priceUnit price perCHF 55.00Sale price CHF 59.00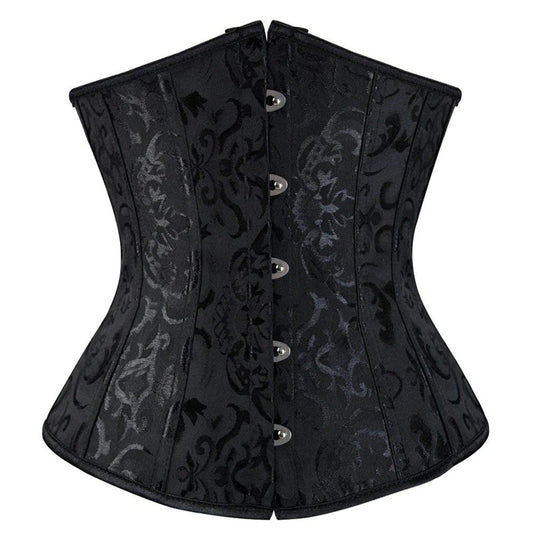
-
Lace Bra & Breast Form Set
Regular price CHF 148.00Regular priceUnit price perCHF 123.00Sale price CHF 148.00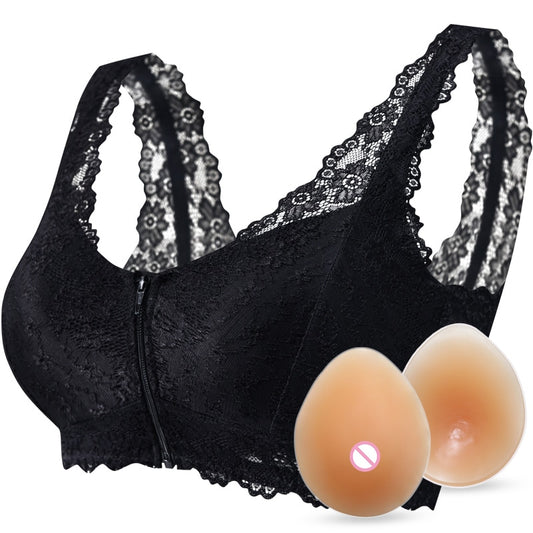
-
Slay the Stage with Our Fierce Drag Queen Booty & Hip Enhancer Shorts!
Regular price CHF 116.00Sale price CHF 116.00Unit price per