How to Block Eyebrows for Drag Makeup
How to Block Eyebrows for Drag Makeup
Eyebrow blocking is one of the most transformative techniques in drag makeup — and one of the most searched, most frustrating, and most misunderstood by beginners.
When you block your brows, you flatten and cover your natural eyebrow hair so completely that you can draw an entirely new brow shape anywhere on your forehead. Higher. More arched. Thinner. Thicker. Completely different from what you were born with.
It's the technique that makes a drag face look like a drag face.
This guide covers everything: what products you need, the full step-by-step process, how to handle stubborn brows, how to prevent lifting, and how to remove blocked brows safely at the end of the night.
What You Need to Block Your Eyebrows
- Washable glue stick — Elmer's purple washable glue stick is the classic beginner choice. It goes on purple and dries clear, so you can see your coverage. Do not use permanent glue.
- Flat synthetic brush or spatula — For pressing and smoothing each layer flat.
- Setting powder — Translucent or skin-toned loose powder to set each layer and create a paintable surface.
- Powder puff or sponge — For pressing powder firmly into the glue.
- Foundation and concealer — Applied over the blocked brow to fully blend it into your base.
- Optional: hairdryer on cool setting — Speeds up drying between layers.
Step-by-Step: How to Block Your Eyebrows
Step 1: Start with clean, dry brows
Remove any oils from the brow area with a gentle cleanser or toner. Oil is the enemy of glue adhesion. Do not apply moisturizer or primer to the brow area before blocking.
Step 2: Brush brows flat
Using a spoolie or your finger, brush your brow hairs as flat as possible in the direction they grow. The flatter they are before you start, the easier the blocking process will be.
Step 3: Apply the first layer of glue
Using your flat brush, apply a thin, even layer of glue stick over the entire brow, pressing the hairs flat as you go. Work in the direction of hair growth. Keep the layer thin — thick layers take longer to dry and are more likely to crack.
Step 4: Let it dry completely
Wait until the glue is fully dry before adding the next layer. It will go from purple to clear (if using Elmer's). Rushing this step is the most common beginner mistake. Use a cool hairdryer to speed this up if needed.
Step 5: Press and smooth
Once dry, use your finger or a flat tool to press the layer firmly flat. This compresses the hair and creates a smoother surface for the next layer.
Step 6: Apply setting powder
Press setting powder firmly into the dried glue with a powder puff. This creates a surface the next layer of glue can grip, and helps build up the coverage faster.
Step 7: Repeat 3–5 times
Apply another thin layer of glue over the powder. Dry. Press. Powder. Repeat until the brow hair is completely flat and the texture is no longer visible. Most brows require 3–5 layers. Thick or coarse brows may need more.
Step 8: Cover with foundation and concealer
Once the final layer is dry and set, apply your foundation over the blocked brow as part of your normal base application. Follow with concealer to fully blend the brow area into your skin tone. The blocked brow should be completely invisible.
Step 9: Draw your new brows
Now you have a blank canvas. Draw your new brow shape wherever you want it — higher, more arched, more dramatic — using brow pomade, eyeshadow, or a brow pencil.
How to Block Stubborn or Thick Eyebrows
Thick, coarse, or very dark brows are harder to block but not impossible. The key is patience and more layers.
- Use more layers — Don't try to rush coverage with thick layers. Thin layers, fully dried, build better coverage than thick ones.
- Press harder between layers — Firm pressure between each layer compresses the hair more effectively.
- Use a flat tool, not your finger — A flat spatula or the back of a brush gives more even pressure than a fingertip.
- Add extra powder layers — More powder between glue layers builds up the surface faster over thick hair.
- Be patient with drying — Thick brows trap moisture. Make sure each layer is completely dry before adding the next.
Read more: How to Block Thick and Stubborn Eyebrows →
Why Your Blocked Brows Keep Lifting — and How to Stop It
Lifting is the most common blocked brow problem. The edges of the blocked brow start to peel away from the skin during a performance, ruining the illusion.
Common causes:
- Skin was oily or moisturized before blocking
- Layers were applied too thick
- Layers weren't fully dry before the next was added
- Not enough powder between layers
- Sweating during performance
How to prevent it:
- Always start with clean, oil-free skin
- Keep layers thin and fully dried
- Press powder firmly into every layer
- Apply a thin layer of skin-safe adhesive (like spirit gum) around the edges of the brow for extra hold
- Set the finished blocked brow with a waterproof setting spray before applying foundation
Read more: Why Your Blocked Brows Keep Lifting →
How to Cover Eyebrow Texture
Even after blocking, you may still see texture — the slight bumps and ridges where the hair is underneath. This is normal, especially with thicker brows.
- Add more layers of glue and powder until the surface is smooth
- Use a damp beauty sponge to press foundation firmly into the texture
- Apply concealer in thin layers and set with powder between each
- Avoid dragging products across the brow — press and stipple instead
Read more: How to Cover Eyebrow Texture →
How to Create Your New Brow Shape
Once your natural brows are blocked and covered, you have complete freedom to draw new ones anywhere on your forehead.
Placement tips:
- Higher brows create a more lifted, feminine appearance
- The arch position changes the entire expression of the face — arch further out for a more dramatic look, further in for a softer one
- Thinner brows read as more feminine from a distance; thicker brows can be more editorial or camp
- Use a white or skin-toned pencil to sketch the shape before committing with color
Read more: How to Create a New Eyebrow Shape for Drag →
How to Remove Blocked Brows Safely
Removing blocked brows incorrectly can damage your skin and brow hair. Always remove gently.
- Apply a generous amount of oil-based makeup remover or coconut oil over the blocked brow
- Let it sit for 1–2 minutes to soften the glue
- Gently wipe away with a soft cloth or cotton pad — do not scrub
- Repeat until all glue is removed
- Follow with your normal cleansing routine
- Apply a nourishing brow serum or oil to condition the hair after removal
Never pull or peel blocked brows off dry. The glue bonds to the hair and skin, and forcing it off can pull out brow hairs or irritate the skin.
Eyebrow Blocking Quick Reference
- ✅ Start with clean, oil-free skin
- ✅ Thin layers, fully dried
- ✅ Press powder firmly between every layer
- ✅ 3–5 layers minimum (more for thick brows)
- ✅ Cover with foundation and concealer as part of your base
- ✅ Remove with oil-based remover — never force it off dry
Next in the Drag Makeup Academy
- How to Block Thick and Stubborn Eyebrows →
- Why Your Blocked Brows Keep Lifting →
- How to Cover Eyebrow Texture →
- How to Create a New Eyebrow Shape for Drag →
- How to Block Eyebrows with a Glue Stick →
- Next Pillar: How to Cover Beard Shadow for Drag Makeup →
- ← Back to Drag Makeup for Beginners
- ← Back to The Drag Makeup Academy
Explore...
View all-
“SLAY ALL DAY” Ultra-Realistic Silicone Breast Plate Bra – Drag Queen Essential (C • D • E Cup) Instant Iconic Cleavage • No Tape • No Glue • Just GAG-WORTHY Curves!
Regular price From HK$1,554.00 HKDRegular priceUnit price per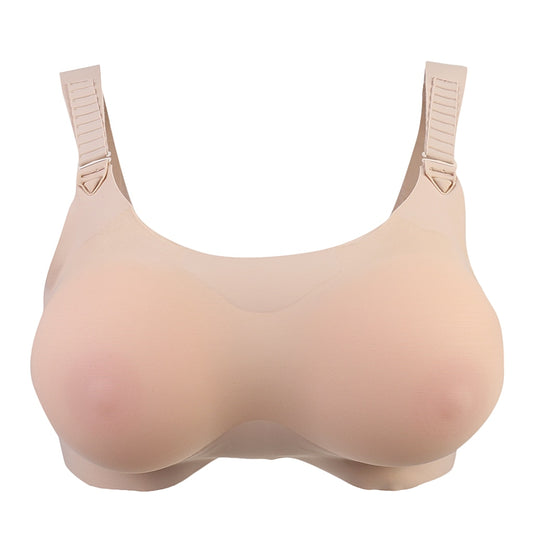
-
Dora Jar Fierce Lace-Up Platform Boots: Slay the Stage in Suede Glory!
Regular price HK$1,434.00 HKDRegular priceUnit price per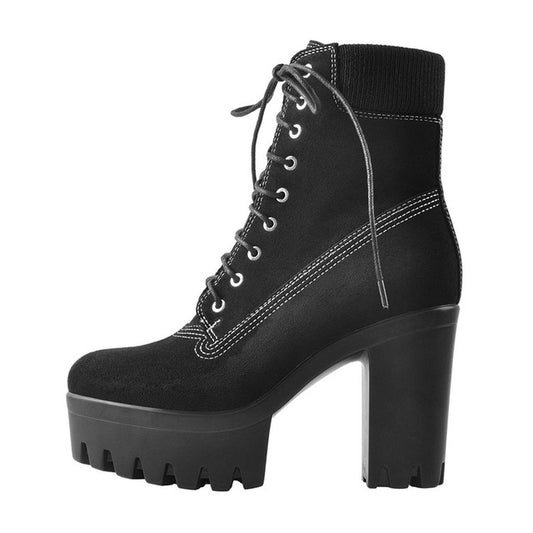
-
Cleo Patrix Afro Kinky Wig – 16" | Drag Queen Wig | 150% Density
Regular price HK$1,155.00 HKDRegular priceUnit price perHK$1,155.00 HKDSale price HK$1,155.00 HKD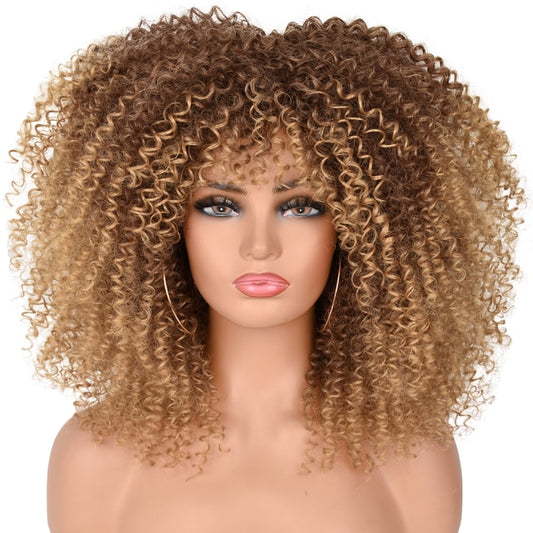
-
Gena Rocity Platform Pumps – Born to Serve, Built to Slay
Regular price HK$1,315.00 HKDRegular priceUnit price perHK$1,586.00 HKDSale price HK$1,315.00 HKD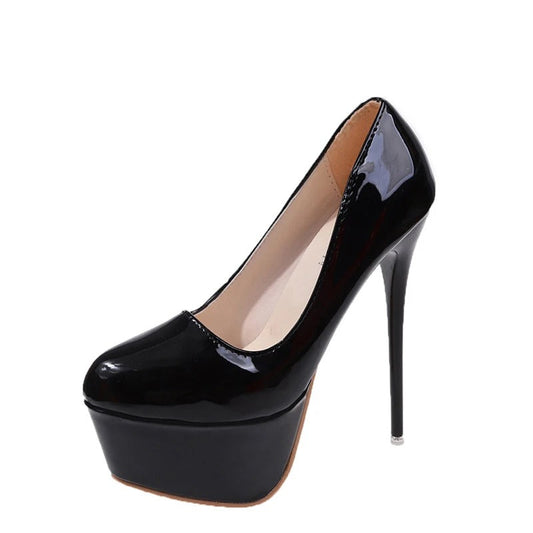 Sale
Sale -
Feminine & Flawless: Hiding Gaff Panties with Hip Pads
Regular price HK$781.00 HKDRegular priceUnit price perHK$1,002.00 HKDSale price HK$781.00 HKD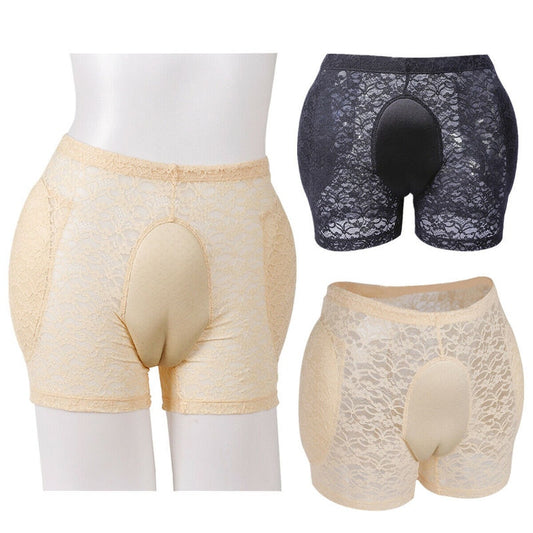 Sale
Sale -
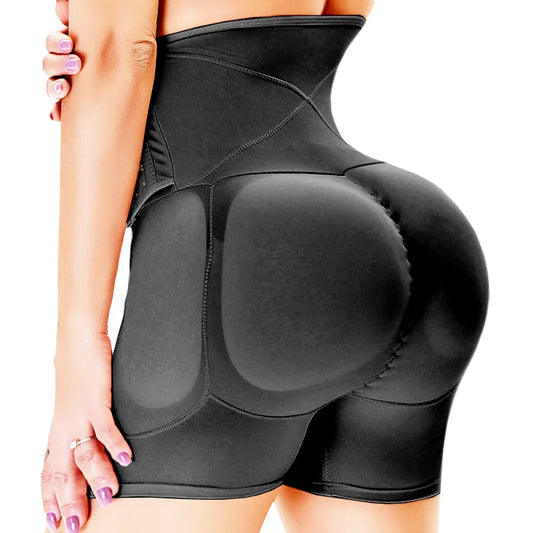
Drag Queen Essential: Padded Hip & Butt Enhancing Panties for Killer Curves & Hourglass Perfection!
Regular price HK$1,227.00 HKDRegular priceUnit price perHK$995.00 HKDSale price HK$1,227.00 HKD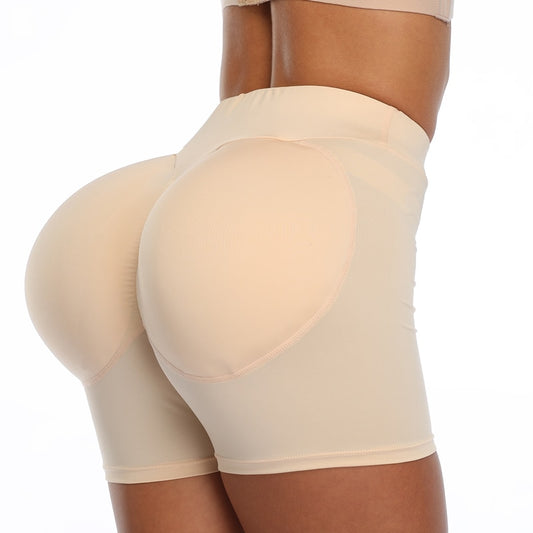
-
Thick Plus Size Tear Resistant Super Elastic Pantyhose
Regular price HK$399.00 HKDRegular priceUnit price perHK$709.00 HKDSale price HK$399.00 HKD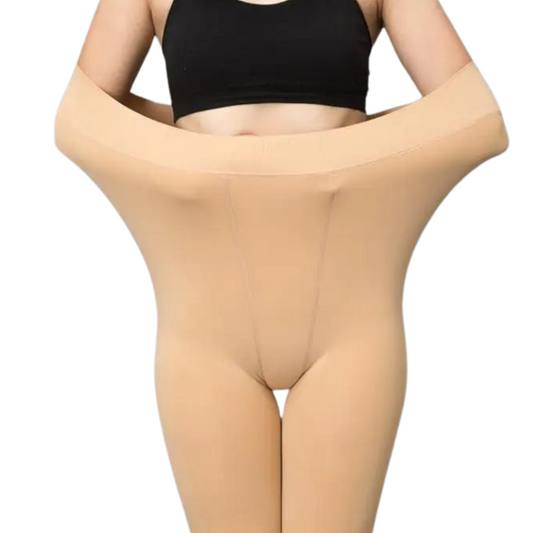 Sale
Sale -
Amie Thyst Silicone Breast Forms
Regular price From HK$2,112.00 HKDRegular priceUnit price perHK$2,945.00 HKDSale price From HK$2,112.00 HKD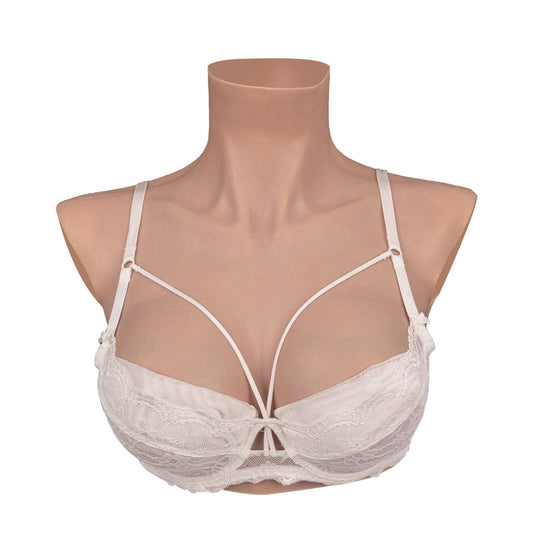 Sale
Sale -
Glossy Mary Jane Block Heels – Candy Colors for Sissies & Cuties
Regular price From HK$1,195.00 HKDRegular priceUnit price perHK$1,952.00 HKDSale price From HK$1,195.00 HKD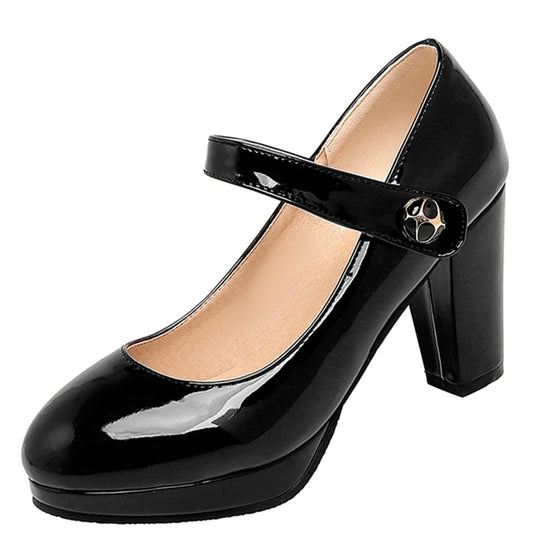 Sale
Sale -
Queen Leticia Underbust Satin Corset
Regular price HK$554.00 HKDRegular priceUnit price perHK$518.00 HKDSale price HK$554.00 HKD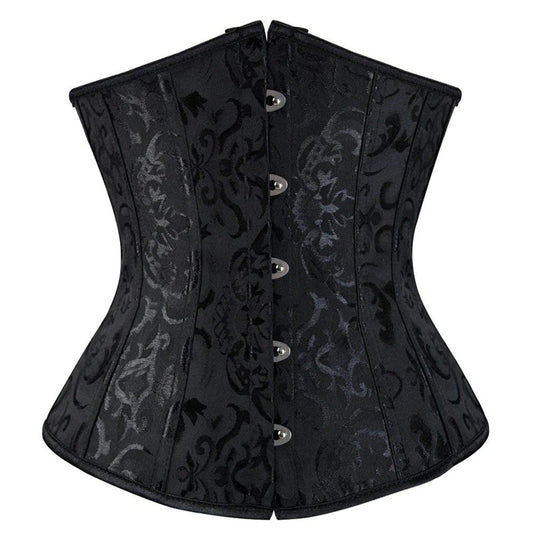
-
Lace Bra & Breast Form Set
Regular price HK$1,394.00 HKDRegular priceUnit price perHK$1,155.00 HKDSale price HK$1,394.00 HKD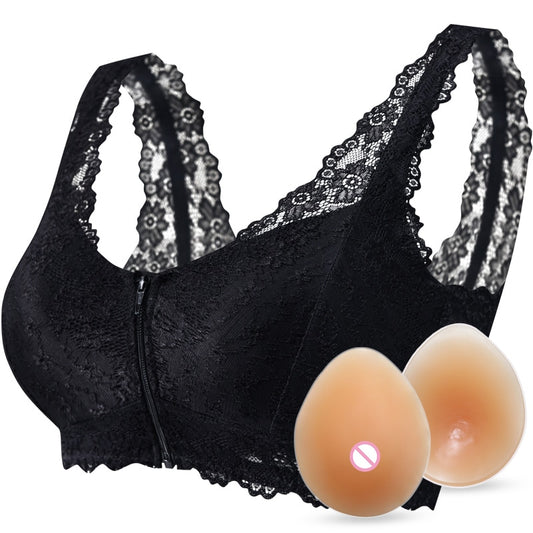
-
Slay the Stage with Our Fierce Drag Queen Booty & Hip Enhancer Shorts!
Regular price HK$1,086.00 HKDSale price HK$1,086.00 HKDUnit price per